How to Shoot Video for a Living Photo: 10 Tips
Stories AR team
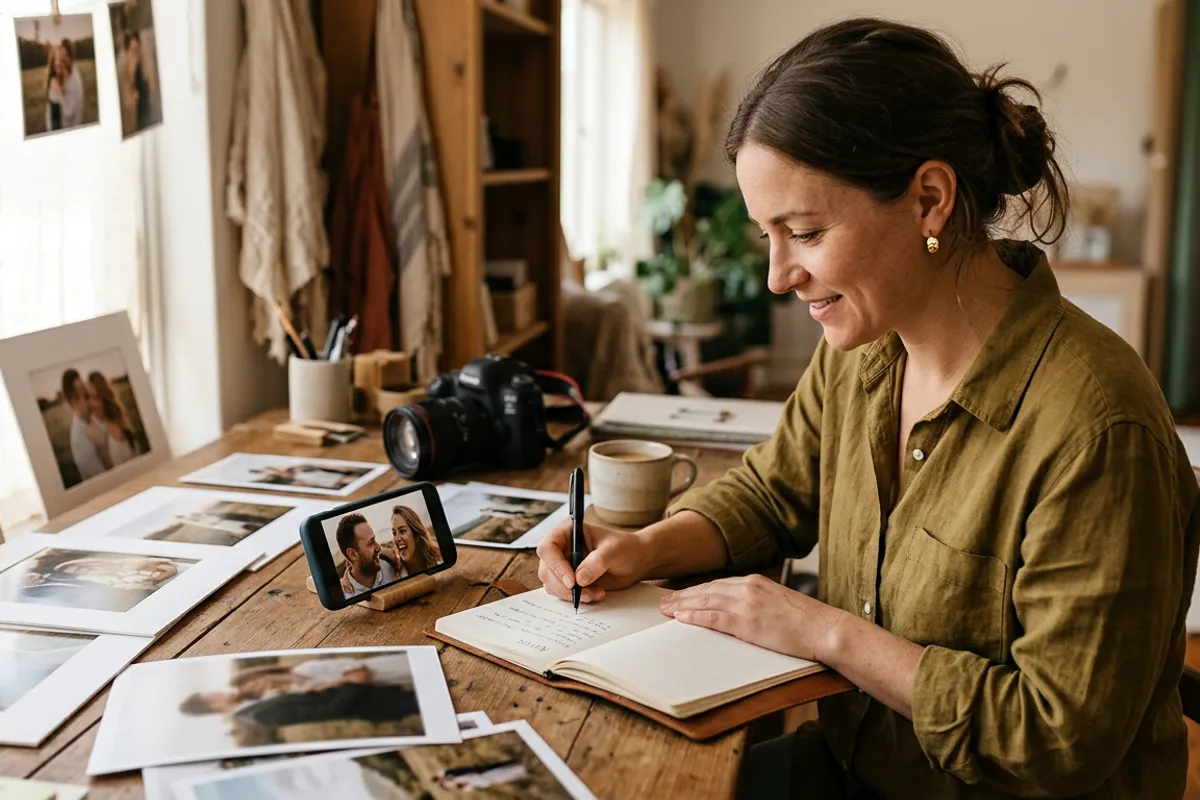
A living photo is only as good as the video behind it. The photo is the trigger; the video is the show — and the difference between "nice QR trick" and "the print just came alive in my hands" is almost entirely in how the video was shot. Here are ten practical rules, learned from the format itself, that make the transition from paper to motion look seamless.
Quick answer
Shoot 10–30 seconds on a tripod or braced phone, in the same orientation as the print, and make the first frame of the video identical to the printed photo — that match is what creates the wake-up illusion. Keep the subject inside the frame, light it evenly, and decide deliberately whether sound carries meaning or should stay ambient.
Key takeaways
- The first frame of the video must match the printed photo — this single rule creates the entire illusion.
- 10–30 seconds is the working length: long enough for a moment, short enough for a standing viewer.
- Lock the camera: shoot from a tripod or braced phone so the video stays aligned with the print.
- Match orientation — a vertical print needs a vertical video, a horizontal print a horizontal one.
- Shoot the video first, then export its first frame as the photo to print: a guaranteed match.
Tips 1–3: the first frame is everything
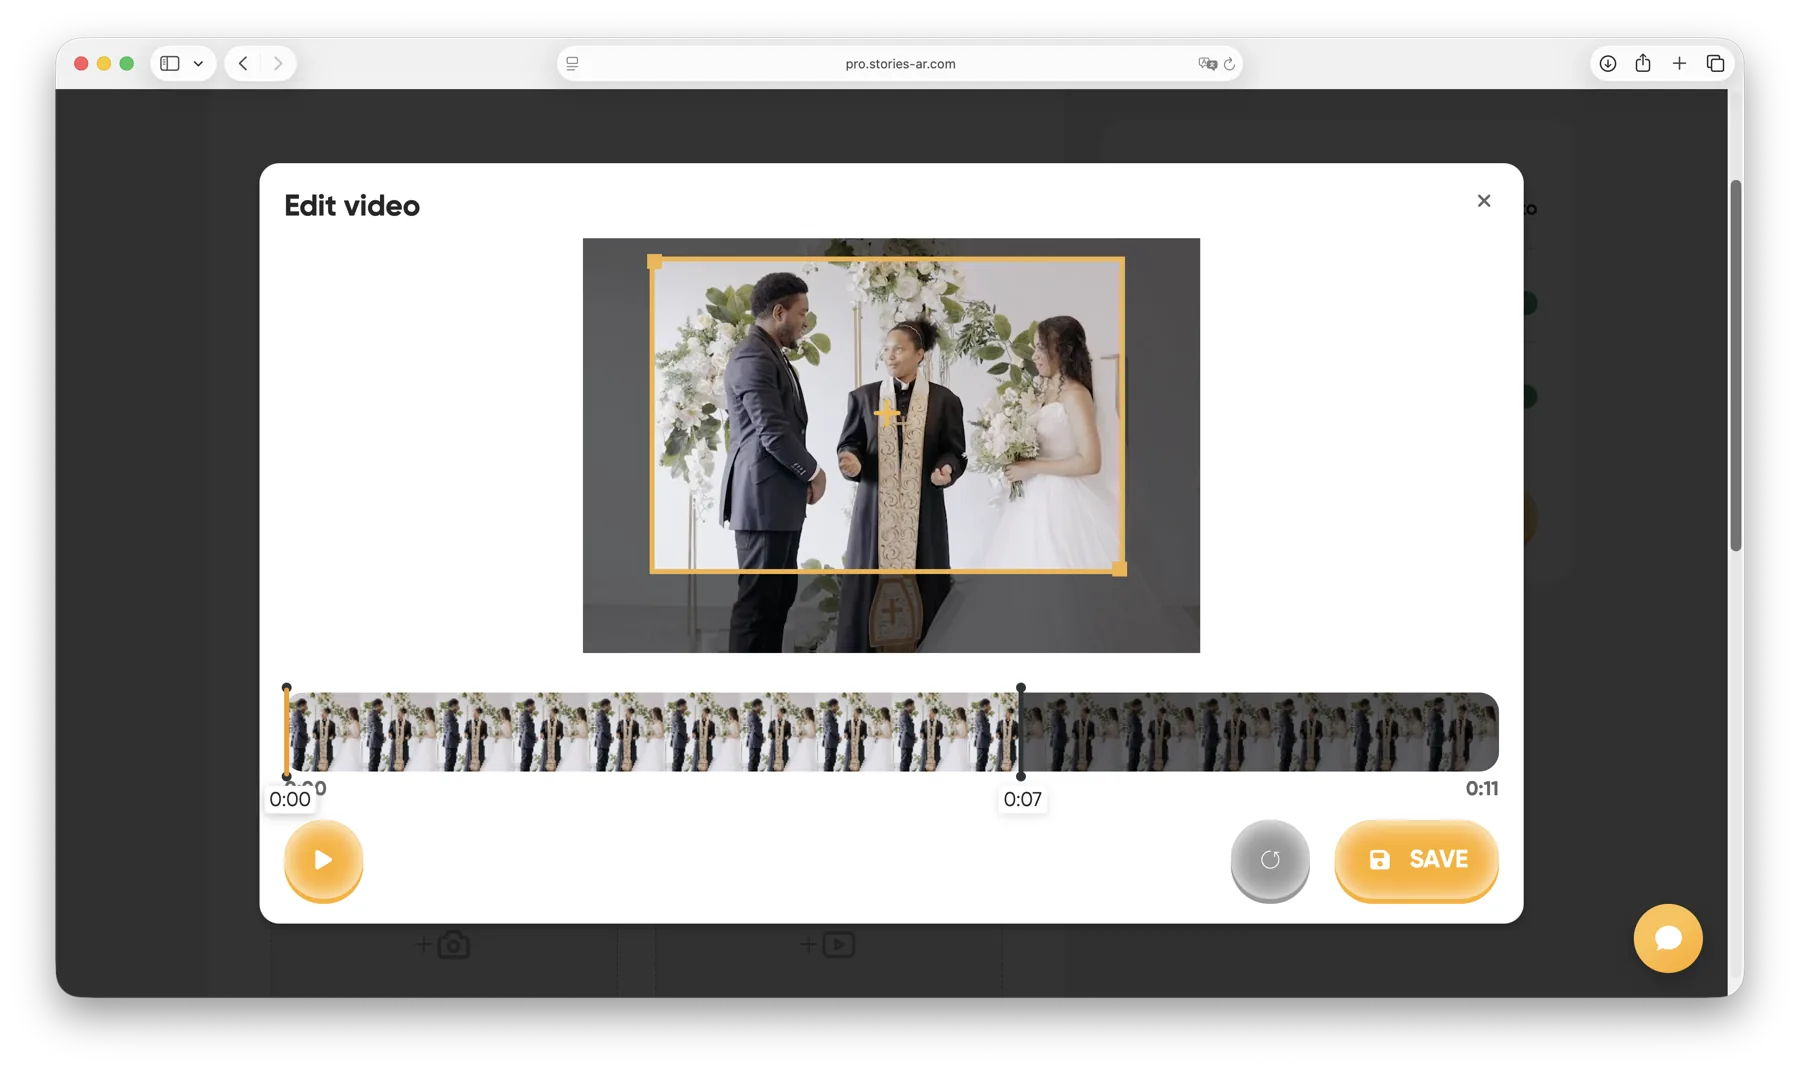
1. First frame = printed photo. The illusion of a print waking up depends on one thing: when the video starts, its first frame should look identical to the photo on paper. The easiest guaranteed way — shoot the video first, then export its opening frame and print that as the photo. The built-in editor lets you pick the exact marker frame if you need to adjust.
2. Start from stillness. Direct your subject to hold a natural pose for the first second — the printed pose — and then move: smile, turn, wave, start walking. The moment of held stillness before motion is what makes viewers gasp.
3. End where you can loop. If the video will replay, a final frame close to the first one makes the loop invisible. A smile that settles back into the printed expression loops forever.
Tips 4–6: camera discipline
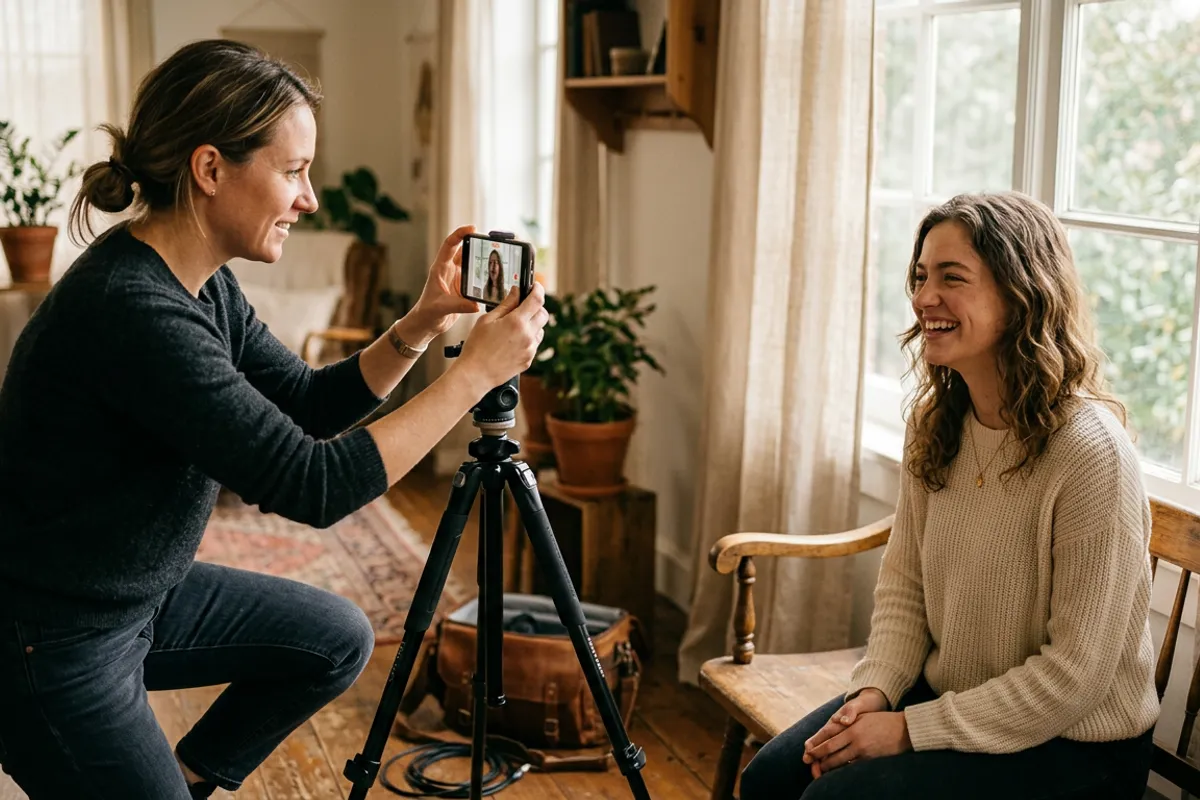
4. Lock the camera. Tripod, or a phone braced against something solid. The video plays anchored on top of the print, so any camera drift in the footage reads as the photo's world sliding around. A locked frame keeps the print and the motion glued together.
5. Match the orientation. A vertical print needs a vertical video; a horizontal print, a horizontal one. Mixing them forces cropping or letterboxing and breaks the overlay. Decide the print format before you press record.
6. Keep the subject inside the frame. Whatever moves should stay within the photo's borders for most of the clip. If your subject walks out of frame at the end, that reads as a deliberate exit — fine. Constantly clipping at the edges reads as a mistake.
Tips 7–8: light and sound
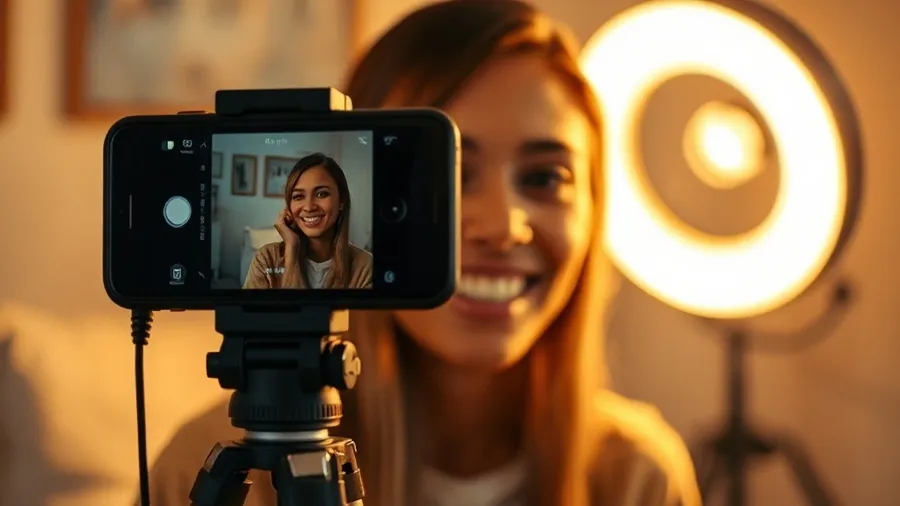
7. Light evenly, expose like the print. The video should feel like the same scene as the photo: same light direction, same exposure. A video visibly brighter or warmer than the print makes the transition jarring. Shooting photo and video in the same session, minutes apart, solves this automatically.
8. Decide what sound is for. Sound plays through the viewer's phone, and it is half the emotion — a voice, laughter, live music. If the message is spoken, record close to the subject; phone mics fall off fast with distance. If there is nothing meaningful to hear, quiet ambient sound beats a random music bed.
Tips 9–10: length and the print itself
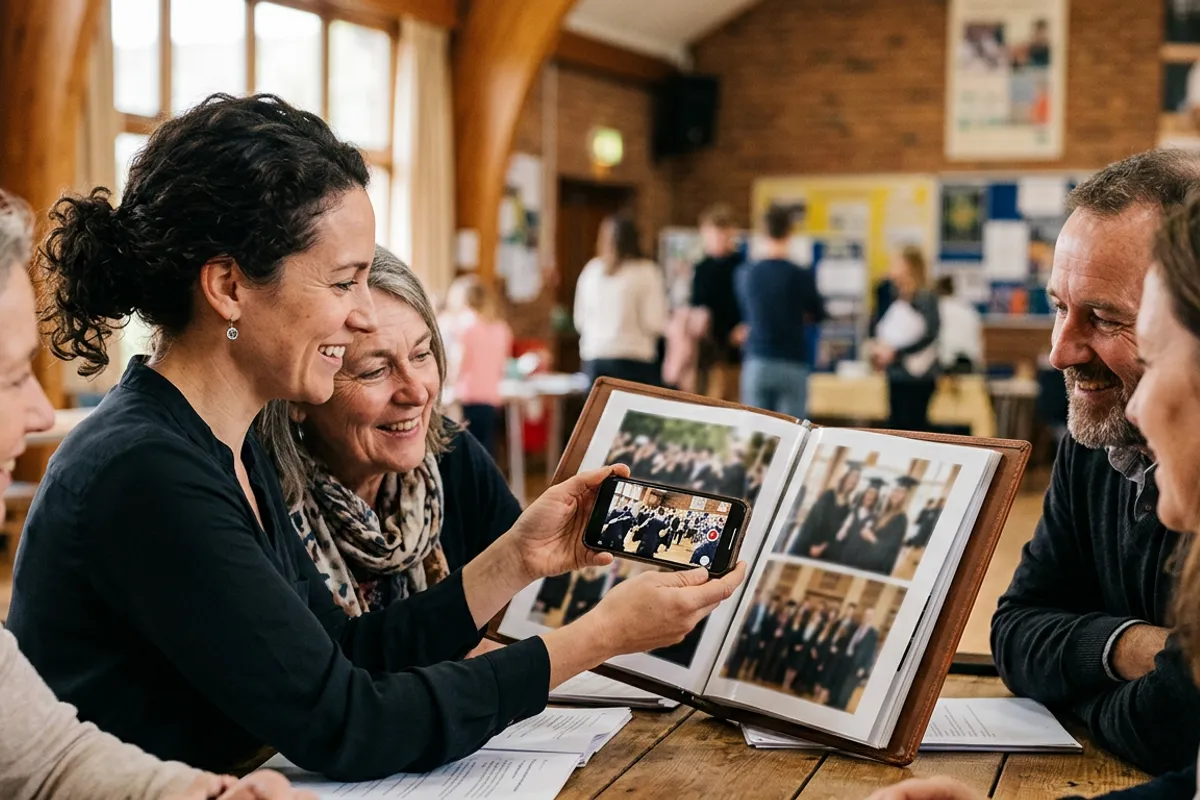
9. Keep it 10–30 seconds. The viewer stands, holding a phone over the print. Ten seconds feels rich; thirty is the comfortable ceiling for most contexts. Longer videos are supported and have their place — a wedding highlight behind an album cover — but for magnets, cards and frames, short wins.
10. Print a photo that scans. The video plays only after the camera recognizes the print, so the photo side matters too: detailed, contrasty images work; flat colors, repeating patterns and glossy laminate hurt recognition. The trigger image guide covers this in depth.
Once both files are ready, the assembly takes about two minutes — the full flow is described on the living photos page. And remember: the video is replaceable after printing, so you can reshoot and improve without touching the print.
A 60-second shooting checklist
Before pressing record, run through this list — it covers nine of the ten rules in one pass:
- Camera locked (tripod or braced), orientation matches the print
- Subject starts in the printed pose, still, for one second
- Motion stays inside the frame; light matches the photo
- Sound: voice recorded close, or clean ambient
- 10–30 seconds total; last frame close to the first for looping
- Export the first frame — that is your print file
Shoot once, refine forever
Make your first living photo free: upload the video, export the first frame, print it — and swap in better takes anytime without reprinting.
Start for freeFrequently asked questions
Should I shoot the photo or the video first?+
Video first is safer: export its opening frame as the photo to print and the first-frame match is guaranteed. Shooting both in one session is the practical way.
What is the ideal video length?+
10–30 seconds. Viewers watch standing with a phone in hand; longer videos are supported but work best for albums rather than cards and magnets.
Can I use a video shot earlier, not in the photo session?+
Yes — any video works technically. The wake-up illusion is just weaker without a first-frame match, so pick a video whose opening frame you can print, or choose the marker frame in the editor.
Can I replace the video after the photo is printed?+
Yes. The QR code and link never change — upload a better take in the dashboard and every printed copy plays the new video instantly.